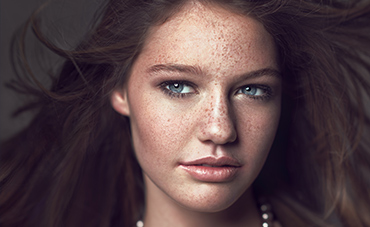
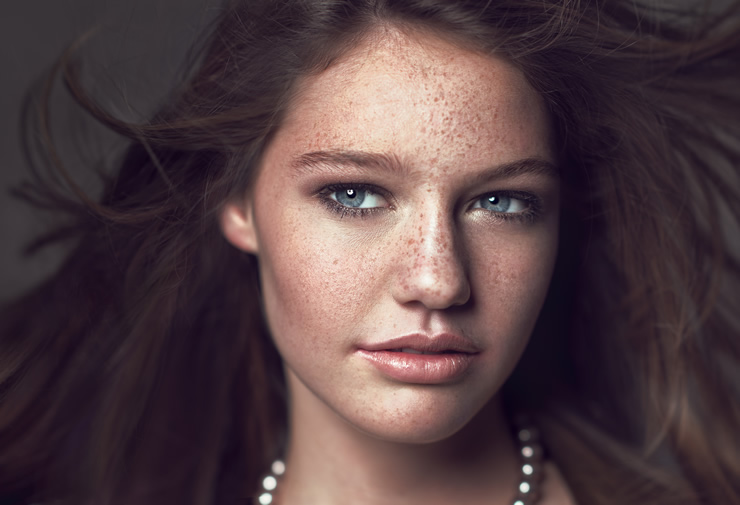
Who doesn’t love a portrait with a nice, creamy shallow depth of field? It’s certainly a look that I love and use often. While its application is fairly straightforward outdoors under natural light, in the studio things become a bit more tricky. Typically when shooting in the studio with strobes, we’ll close down our f-stop to around f/11 to cancel out the ambient light and bring our shutter speed in line with the sync speed of our flashes (usually between 1/160th and 1/250th). With a wide open aperture like f/1.4, things are a little bit different so we have to apply some tricks to get around sync speed limitations. If you use continuous lights like a Spiderlite or Kinoflos then problem solved. Kinos give a particularly nice look and since they are relatively low power when compared to strobes, you’ll want to open up your f-stop as much as possible anyway. Of course being continuous, there are no sync speed issues. For the remainder of the post we’ll assume your using strobe lights, as many of us do. Here are some tips to use when shooting wide open in the studio:
- Cut out the noise – Dim your ambient lights nice and low. You’ll want to minimize the amount of ambient light as even a faint amount of light becomes noticeable at f/1.4 and could lead to mismatched light temperatures when combined with your daylight balanced strobes.
- Find auto focus assist – If you have a strobe with a modelling light, use it to gently light your subject so that your auto focus still works. This is obviously critical since the DOF at f/1.4 is tiny and you’ll want to be tack sharp where it counts. Another trick is to have an assistant hold a flashlight and shine it in the subjects eyes and turn it off before you fire the shutter. This has the added advantage of shrinking the pupil and making the eyes look better.
- Get low – Get your strobe as low in power as possible. If you’re using a 1200ws strobe head, this is going to be next to impossible so use a flash head that has a low output. Off camera speed lights work great as you can set them all the way down to 1/128th power and create a very faint pop of light. You can also run them in high speed sync, thus eliminating sync speed issues altogether. In this case you can just enable TTL mode, set your aperture and the flash will make sure to light your subject correctly. Assuming you want to stick to studio strobes to make use of your diffusers, there’s a bit more that we can do. On portable power packs like the Elinchrom Ranger Quadra that I use, you can plug the strobe head into B-Port which outputs 33% of the packs power. Bringing the strobe to a minimum on this port gives me a low enough power to shoot at a wide open aperture like f/1.4 or f/2. Additionally you can stack layers of diffusion on top of your strobe to reduce its output further. A folded white bed sheet works well, or if you’re using a softbox you can place a reflector pan (like in a beauty dish) inside it which will also lower its output.
- Go Big and Move Out – If you can’t power your strobe down anymore you can always move the strobe farther away from your subject and harness the inverse square law. When you do this you’ll have to increase the size of your light source to maintain the same light softness so you’ll need a larger diffuser on hand.
- Add a Filter – If you still can’t get your shutter speed in line with the sync speed of your strobes after trying the above tricks, the final option is to use a neutral density (ND) filter. A three stop ND filter will more than suffice and generally produces minimal to no color casting. If you don’t have an ND filter, you can also use a polarizing filter which provides two stops of light reduction. I’ve used both on occasion and both work equally well.
- Consider your Subject – In order for the shallow depth of field to look pronounced, you’ll have to create depth along the focal plane. Usually this happens naturally outdoors by having an interesting backdrop or one that produces a nice bokeh. In the studio we’re typically working with a seamless or muslin background which result in a uniform background at wide open apertures. Instead, you can maximize the shallow DOF effect by positioning your subject at an angle so that a shoulder is closer to the camera than the other, you can also use a hairstyle that has a lot of front to back depth, or shoot from a higher angle downward on your subject so that the focus melts away as you approach the bottom of the frame.
Once you’ve nailed down a proper exposure and effective composition using the above tricks, the rest boils down to the same skills and techniques used in standard studio apertures.


