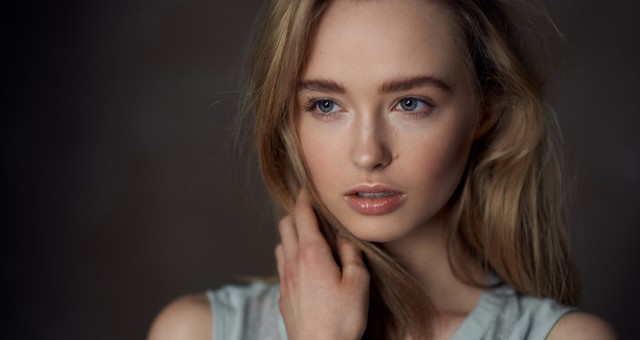
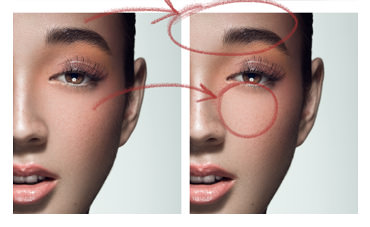
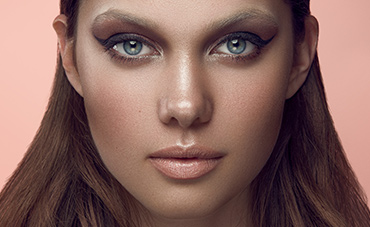
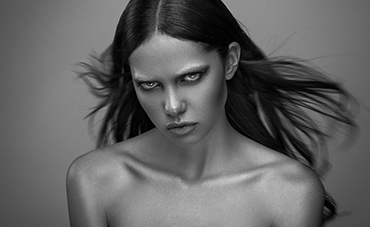
In the below tutorial, I take you through the details of how we can translate the Dodge and Burn technique that we know well in Photoshop, into one that can be applied at the raw level in Capture One Pro. While capabilities for Dodging and Burning have existed in Capture One since version 11, the process that was once a bit cumbersome and limited is now refined and in[...]
Author archives: Michael Woloszynowicz
Color Grading and Correction with Capture One Pro
In this tutorial I'll be taking you through the ins-and outs of color grading and color correction using Phase One's Capture One Pro software.
We'll be looking at how to neutralize color casts, achieve beautiful skin tones, changing colors, as well as applying cinematic grading to your portrait or fashion images. For this tutorial you'll need to have version 8 of t[...]
How to Quickly Even Out Rough Skin Texture and Pores
In this tutorial I'll show you a quick and unique approach to fixing rough skin texture and pores while retaining the desirable skin texture that keeps the image looking natural and professional. There are a few steps involved in this process so I've created an action for you that keeps things simple and intuitive. The action can be downloaded here.
We'll be taking[...]
How to Easily Correct Colors and Match Tones in Photoshop
In this tutorial I'll show you a unique approach to correcting mismatched colors quickly and intuitively. Unlike some of the other tools available to you such as curves, selective color or hue/saturation, this approach requires very little guesswork and is largely automated thanks to the corresponding action provided here. Big thanks to my buddy Brock McFadzean for he[...]
How To Enhance Texture and Detail with Intelligent High Pass Sharpening
In this tutorial I'll show you a unique approach to high pass sharpening that will help to bring out details like skin texture and other fine elements for portrait, architecture or landscape images. The benefit of this approach is that it prevents the harsh transitions and fringing in high-contrast areas often seen in the traditional high pass approach.
In the vide[...]
How to Quickly Remove Stray Hairs in Photoshop
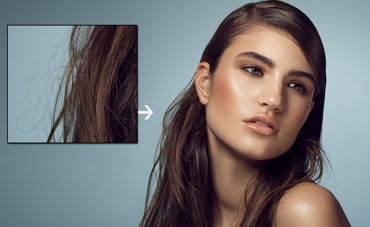
In this tutorial I'll show you a shortcut for removing stray hairs from a background. This trick will work well if the background is a seamless paper with a tonal gradation across it, or is blurred out due to shallow depth of field. If your background has a lot of detail or texture in it then the technique will not work. Another situation you may run into problems is [...]
How To Quickly Remove Color Casts In Photoshop
In this short video tutorial, I'll show you a quick, intuitive and consistently effective method for removing a colour cast from your images. This technique will work for any type of image, not just portraits.
While Photoshop offers a number of tools that help with colour cast removal, such as the channel mixer, selective colour, curves, etc., none are are ever th[...]
Complete Guide to Eye Retouching
In this series of video tutorials I'll be taking you through some of the most common techniques used for retouching eyes in both beauty shots and portraits.
The series is broken down into five parts and spans nearly an hour in length. We cover a wide variety of tools in the process (most available in Photoshop CS3 and onward) including:
Frequency separation
H[...]
The Best of 2013
With the year drawing to a close it's time once again to reflect on the year and pick some of my favourite photos that I shot in 2013. With a mix of landscape, architecture and portraiture, these are listed here in no particular order as I would be hard pressed to rank them given the variety of genres.
1. Breaking Through
My 2013 list would be incomplete if I didn't[...]

