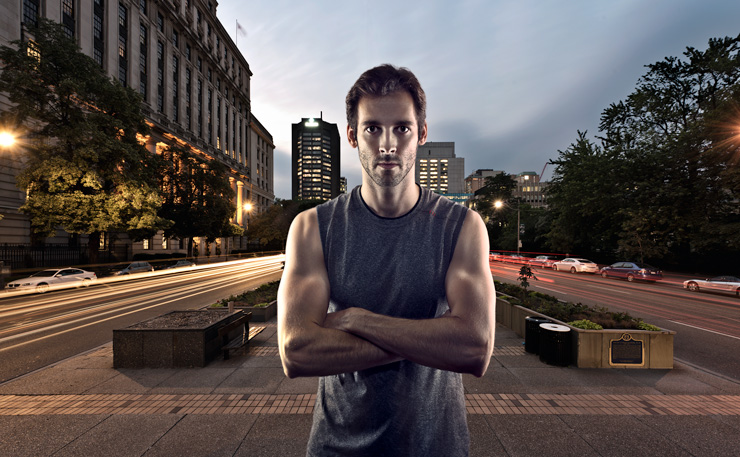
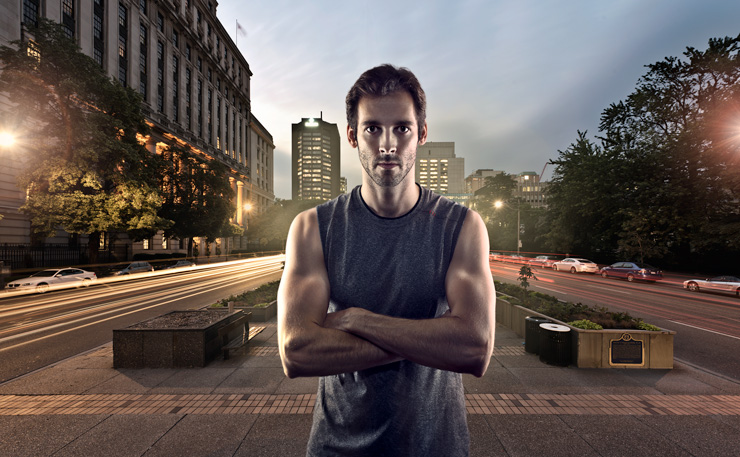
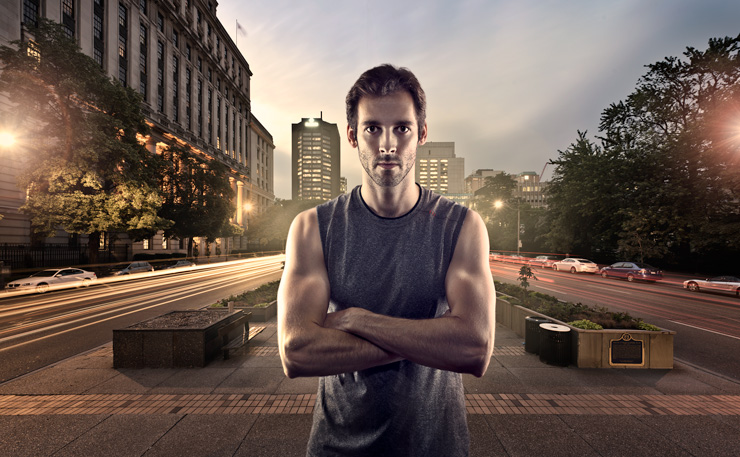
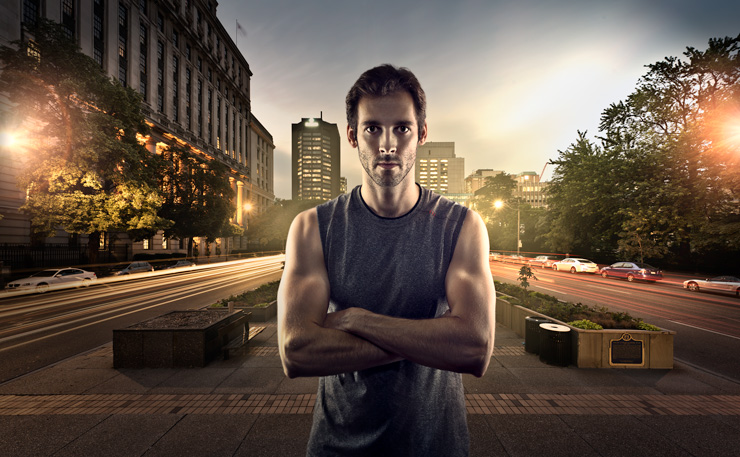
In this fairly extensive video tutorial I’ll be covering a variety of ways to enhance and add lighting effects to your image. In the case of composites, we’ll look at some ways to use light and coloring to make them look a bit more believable and improve the blend between the subject and background.
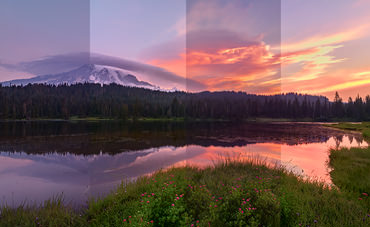
We’ll start with the above composite image and work through three separate variations of it so you can choose an approach that looks best to you.
In the above version we’ll make some subtle adjustments to the lights to help the subject fit more naturally into the background and accent the light sources that exist.
In the second variation we work towards making the subject stand out better and draw the viewers attention into the key areas of the image. We also make some color adjustments to even out the tone between the subject and background.
In the final variation we’ll look at making some dramatic adjustment to the feel and lighting in the image using Photoshop’s built in Lighting Effects tools. For this one you’ll want to download the lighting present that I used in the image to serve as a starting point if you want to try it on your own image. Note that while the above adjustments can be done using Photoshop CS3 onward, this final variation requires CS5 or higher.
Some of the tools that will be discussed include:
- Layer blend modes
- Creating and adjusting lens flares
- Painting light glows
- Photoshop lighting effects filter
- Color matching
Thanks for watching and don’t forget to subscribe to my YouTube channel for more updates.


